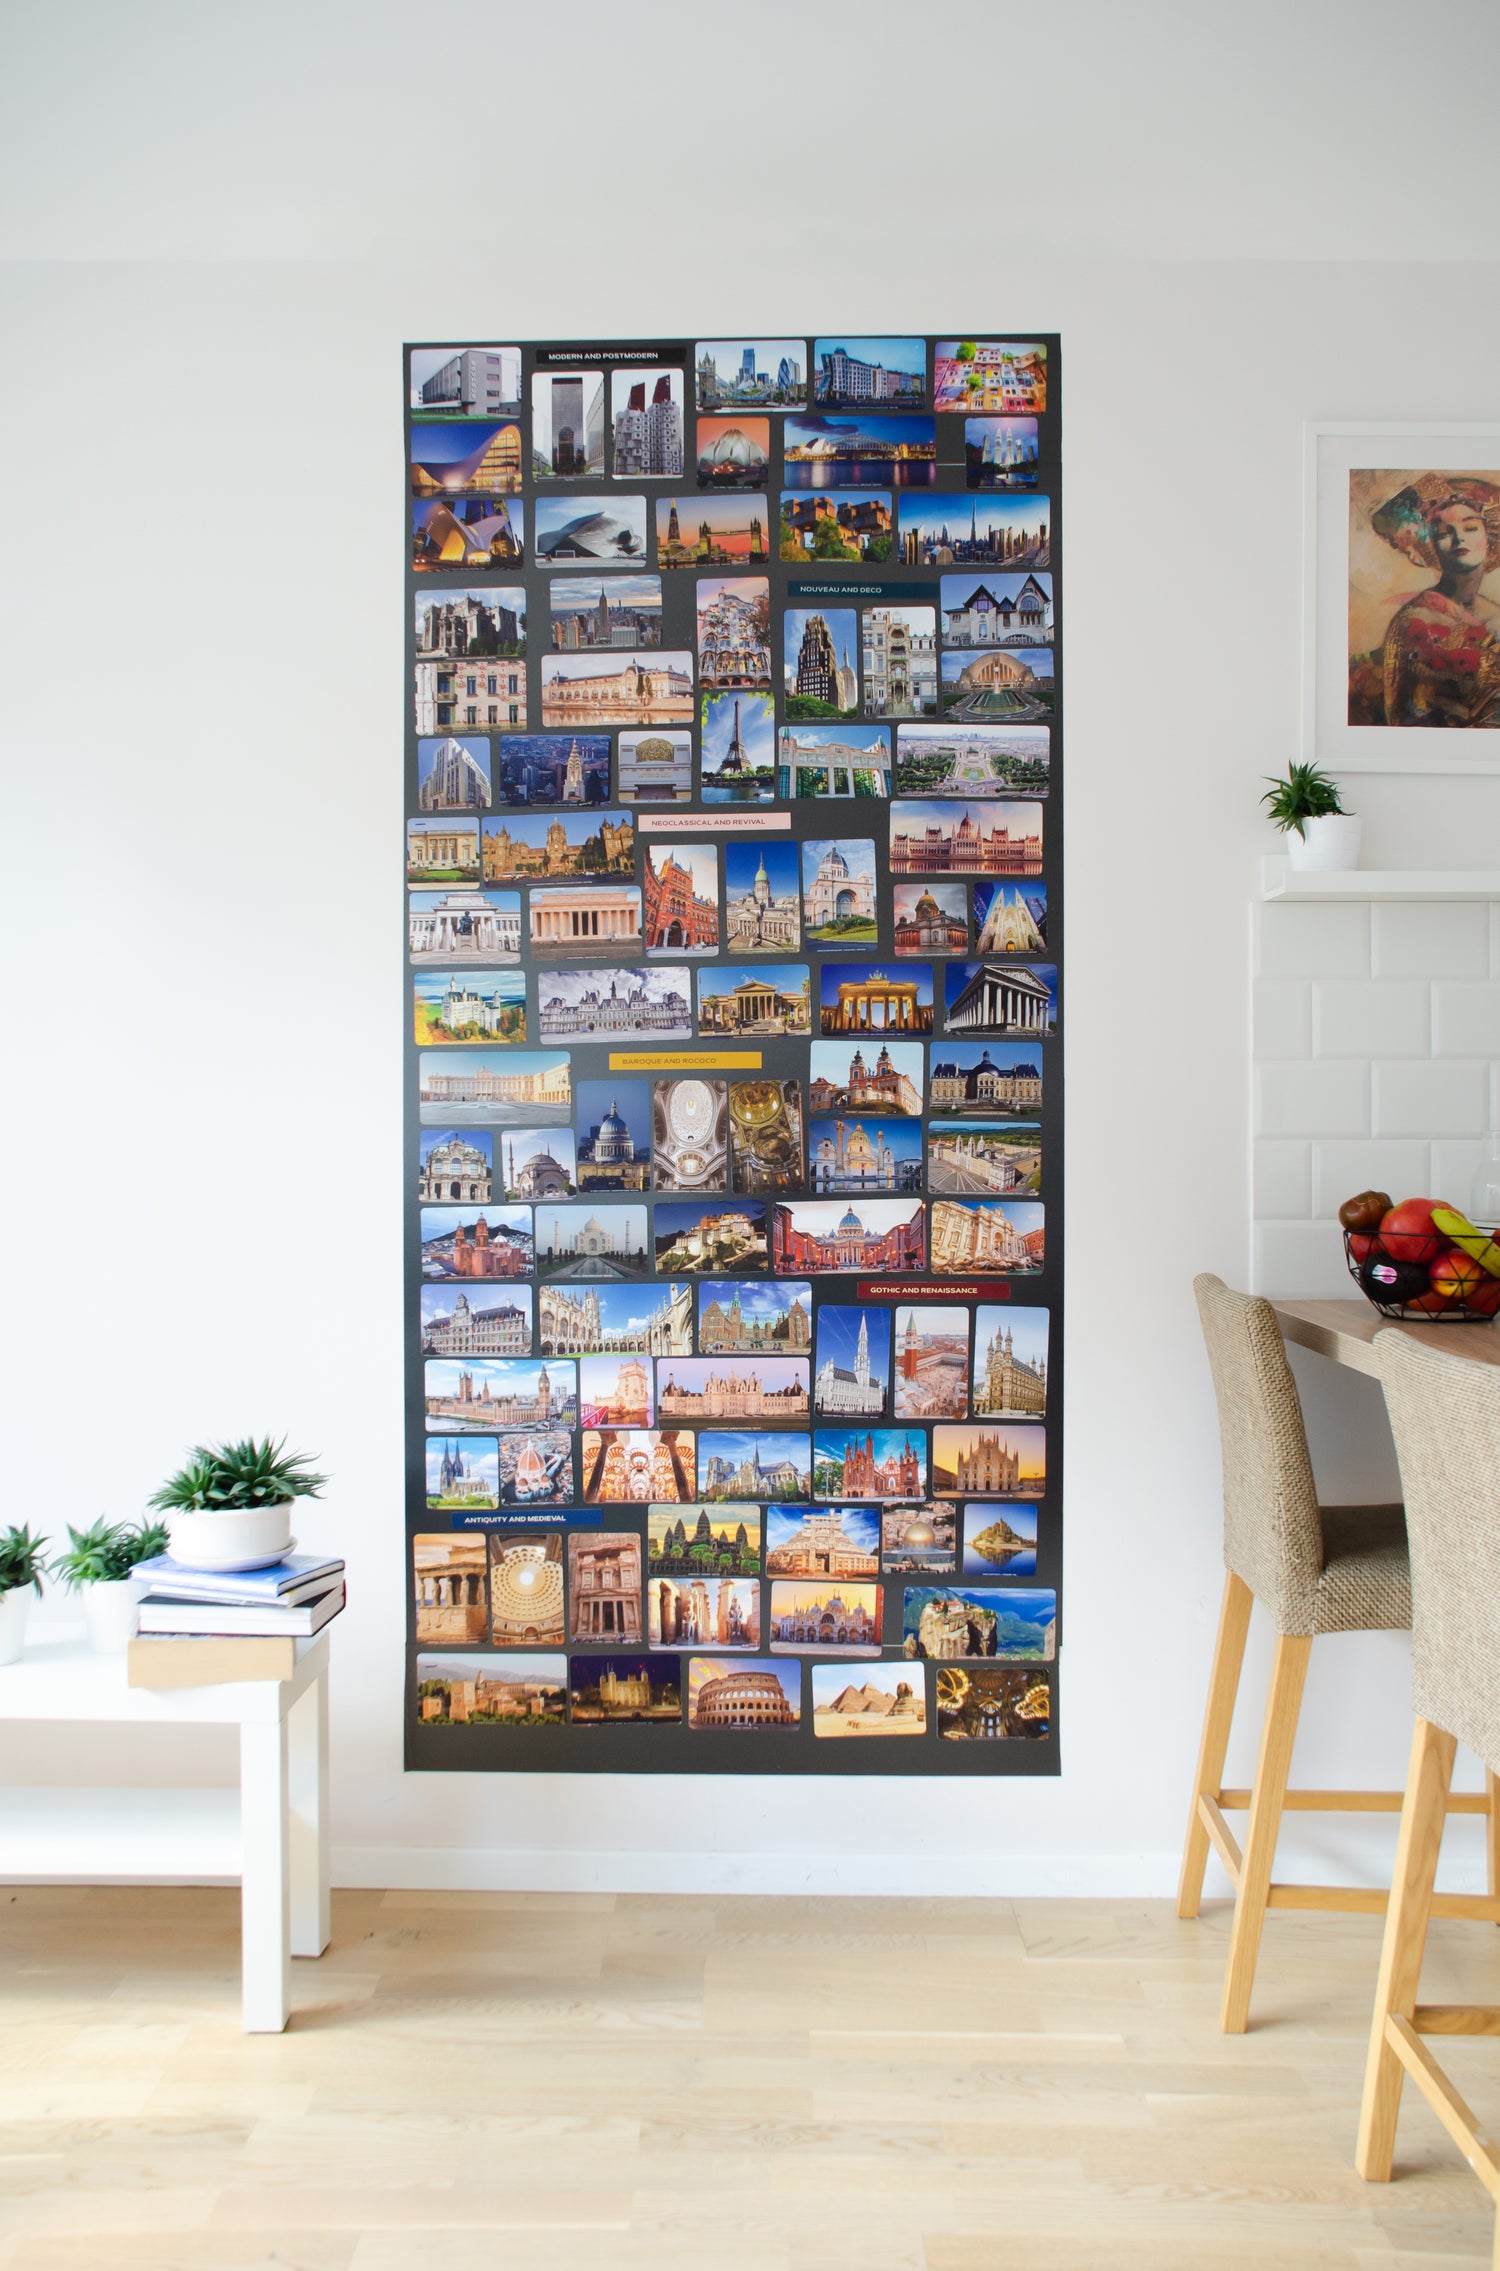
A DIY magnetic board can be a versatile and functional addition to any home or office. Whether you want to create a message board, memo board, or even a magnetic makeup organizer, making your own magnetic board is a fun and easy project. In this step-by-step guide, we will walk you through the process of creating your own DIY magnetic board using simple materials and techniques.
How to Make a DIY Magnetic Board
Materials Needed:
To create your own DIY magnetic board, you will need the following materials:
- A sheet of metal
- A frame or an old picture frame
- Galvanized steel sheet
- Chalkboard paint (optional)
- Spray paint (optional)
- Magnets
- Chalk or dry-erase markers (depending on the desired use of the board)
- Mounting hardware (if necessary)
Step 1: Choose a Suitable Sheet of Metal
The first step in creating a DIY magnetic board is to choose a suitable sheet of metal. You can opt for a steel sheet or a galvanized steel sheet, both of which are readily available at hardware stores. The size of the sheet will depend on your desired board size.
Step 2: Prepare the Metal Surface
Before you start any painting or mounting, it is important to prepare the metal surface properly. Clean the sheet of metal using a mild soap and water solution to remove any dirt or grease. Once clean, dry the surface thoroughly.
Step 3: Paint the Metal (Optional)
If you want to add a pop of color to your magnetic board, you can spray paint the metal surface. Choose a color that suits your preference and matches the aesthetic of the room where the board will be displayed. Apply multiple thin layers of spray paint, allowing each layer to dry before applying the next one.
Step 4: Trim the Sheet to Fit the Frame
If you are using a frame or an old picture frame as the border for your magnetic board, measure and trim the metal sheet to fit inside the frame. Use tin snips or a metal cutting tool to cut the metal sheet according to the measurements of the frame.
Step 5: Attach the Metal to the Frame
Once the metal sheet is trimmed to the appropriate size, attach it to the frame. Use adhesive or screws to secure the metal sheet to the back of the frame. Make sure it is securely attached so that it does not fall out or move when magnets are placed on it.
Step 6: Seal the Metal Surface (Optional)
To prevent rust or damage to the metal surface, you can seal it with a clear coat or a layer of chalkboard paint. This will also provide a smoother surface for writing or drawing on the board. Apply the sealer or chalkboard paint according to the manufacturer's instructions and allow it to dry completely before moving on.
Step 7: Mount the Magnetic Board (Optional)
If you want to hang your DIY magnetic board on a wall, attach mounting hardware to the back of the frame. Opt for hooks, screws, or adhesive strips that are appropriate for the weight and size of the board. Follow the instructions provided with the mounting hardware to securely attach it to the wall.
Step 8: Decorate and Use the DIY Magnetic Board
Once your DIY magnetic board is complete and mounted, you can start decorating and using it. Attach magnets to the board to hold notes, memos, or pictures. Use chalk or dry-erase markers to write reminders, to-do lists, or artistic drawings. Personalize the board with stickers, labels, or colorful borders to fit your style.
Note: The steps provided are general guidelines and can be adapted based on the specific materials and tools you have available. Be sure to read and follow all safety instructions and precautions when working with metal and painting materials.
What Are the Different Types of Boards?
1. Magnet Board
A magnet board is a simple and versatile option. It can be used for displaying artwork, notes, to-do lists, or even as a decorative piece. You can make a DIY magnet board by attaching magnets to a sheet of galvanized steel.
2. Chalkboard
A chalkboard magnetic board combines the functionality of a magnetic board with the traditional charm of a chalkboard. To create a chalkboard magnetic board, you will need a suitable chalkboard and a sheet of galvanized steel. Apply chalkboard paint to the metal sheet, let it dry, and attach it to the chalkboard surface.
3. Memo Board
A memo board is a perfect way to keep track of important notes, reminders, and messages. You can easily create a DIY memo board by attaching a sheet of metal to a frame or a corkboard. Use magnets to hold the memos in place, and you have a functional memo board ready to use.
How to Make a Magnetic Message Board
A magnetic message board is a great addition to any home or office, allowing you to display important messages, photos, and reminders. Here's how you can make your own:
1. Choose a Frame
Start by choosing a suitable frame for your magnetic message board. It can be a vintage frame or a simple wooden frame, depending on your personal style and the look you want to achieve.
2. Attach the Sheet of Metal
Next, attach the sheet of metal to the frame. You can use adhesive or small nails to secure the metal sheet in place. Make sure the metal sheet fits snugly into the frame.
3. Personalize Your Message Board
You can personalize your message board once the metal sheet is securely attached. Use magnets to hold photos, notes, and reminders. You can also attach small hooks or clips to the frame to hang keys or other small items.
Easy DIY Magnetic Makeup Organizer
If you're looking for a creative way to organize your makeup collection, a magnetic makeup organizer is the perfect solution. Here's how you can make one:
1. Find a Suitable Picture Frame
Start by finding a suitable picture frame that fits your makeup collection. You can repurpose an old frame or purchase a new one from a craft store.
2. Attach a Sheet of Metal Inside the Frame
Remove the backing from the frame and attach a sheet of galvanized steel inside using adhesive or small nails. Make sure the metal sheet is flush against the frame.
3. Organize Your Makeup with Magnets
Once the metal sheet is securely attached, you can use magnets to organize your makeup. Attach small magnets to the back of your makeup products and stick them to the magnetic surface. This will keep your makeup easily accessible and organized.
Creating a Magnetic Chalkboard
A magnetic chalkboard is a versatile and functional addition to any home or office. Here's how you can create one:
1. Choose a Suitable Chalkboard
Start by choosing a suitable chalkboard. You can purchase a premade chalkboard or create your own by applying chalkboard paint to a sheet of galvanized steel or a wooden board.
2. Apply Chalkboard Paint to the Surface
If you are using a metal sheet, apply a coat of chalkboard paint to the surface. Follow the instructions on the paint can for the best results. Allow the paint to dry completely before moving on to the next step.
3. Mount the Chalkboard on a Wall
Finally, mount the chalkboard on a wall using appropriate hardware. Make sure the chalkboard is securely attached and leveled. Once mounted, you can use magnets to attach notes, photos, or other items to the magnetic surface of the chalkboard.
Creating your own DIY magnetic board is not only a creative and fun project but also a practical way to organize and display important information. Whether you choose to make a magnet board, magnetic message board, or magnetic makeup organizer, the possibilities are endless. Get started today and enjoy the convenience and functionality of your homemade magnetic board!
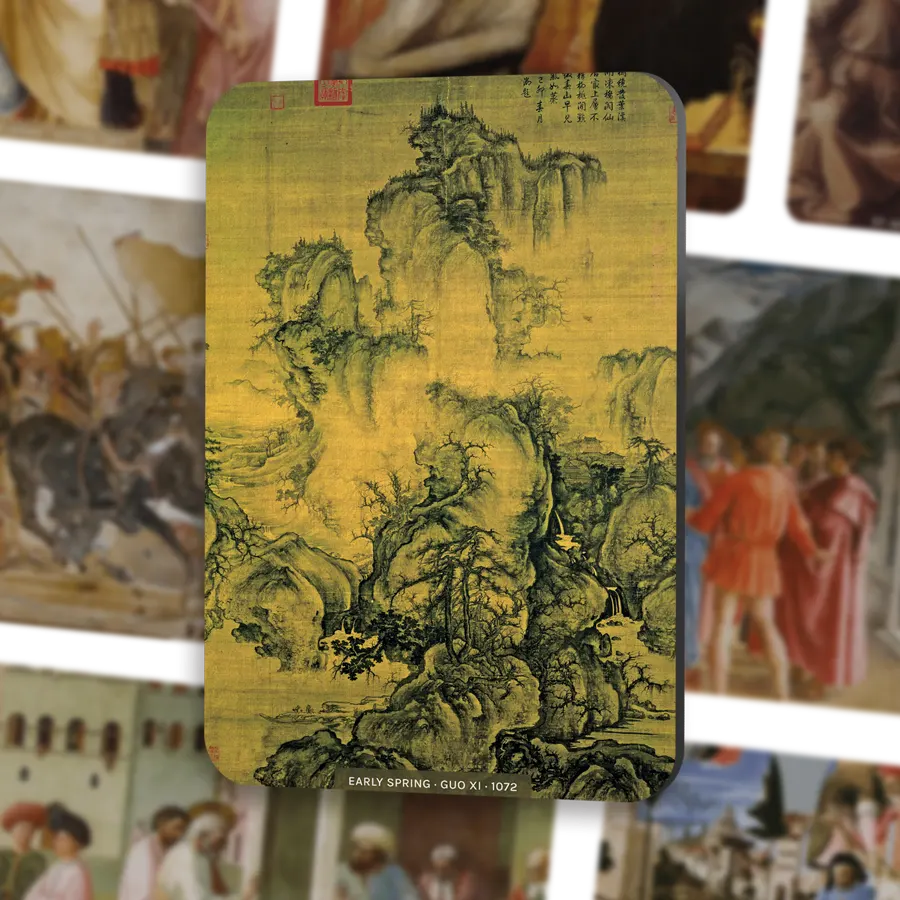
Discover MUSÉEWALL collections - educational magnetic cards, which will make learning about science, history, art, and architecture fun!
Q: What is a magnetic board?
A: A magnetic board, also known as a magnet board or memo board, is a flat surface that is capable of attracting and holding magnets.
Q: How can I make a magnetic board?
A: You can make a magnetic board by attaching a sheet of metal, such as sheet metal, to a frame or mounting it on a wall.
Q: What materials do I need to make a magnetic board?
A: To make a magnetic board, you will need a sheet of metal, a frame (optional), screws or adhesive for mounting, and any desired decorative elements.
Q: Can a magnetic board also function as a dry-erase board?
A: Yes, if you use a metal sheet that is also suitable for writing on, such as a sheet with a dry erase finish, then your magnetic board can double as a dry-erase board.
Q: How do I make the magnetic board look more appealing?
A: You can decorate the wooden frame or the metal sheet with paint, chalk, magnetic letters, or other decorative elements to make the magnetic board more visually appealing.


